Start Project
There are two ways to start a new Writer project: You can create a new project or import a tender from Finder.Option 1: Create New Project
If you already have your tender documents locally, you can create a new project directly.1
Open Projects Page
Navigate to Projects via the left sidebar. Here you’ll see an overview of all existing projects.
2
Create Project
Click the “Create Project” button in the upper right corner.
3
Upload Documents
Upload your tender documents. Supported formats include PDF, Word (.docx), and other common document formats.
4
Name Your Project
Give your project a descriptive name. This helps you find the project quickly later.
5
Start Analysis
After uploading, the AI analysis starts automatically. Depending on the document size, this may take a few minutes.
Option 2: Import from Finder
If you use Finder to search and manage tenders, you can create a project directly from a found tender.1
Select Tender in Finder
Open Finder and search for a relevant tender. Click on the desired tender to view its details.
2
Create Project
Click “Create Project” or the corresponding button in the tender view.
3
Automatic Import
The tender documents are automatically imported into the new project. You don’t need to upload files manually.
4
Direct to Requirements Review
After import, you go directly to the requirements view. The AI has already analyzed all documents and extracted the requirements.
Project Overview
After creation, you’ll reach the Project Overview. Here you can see: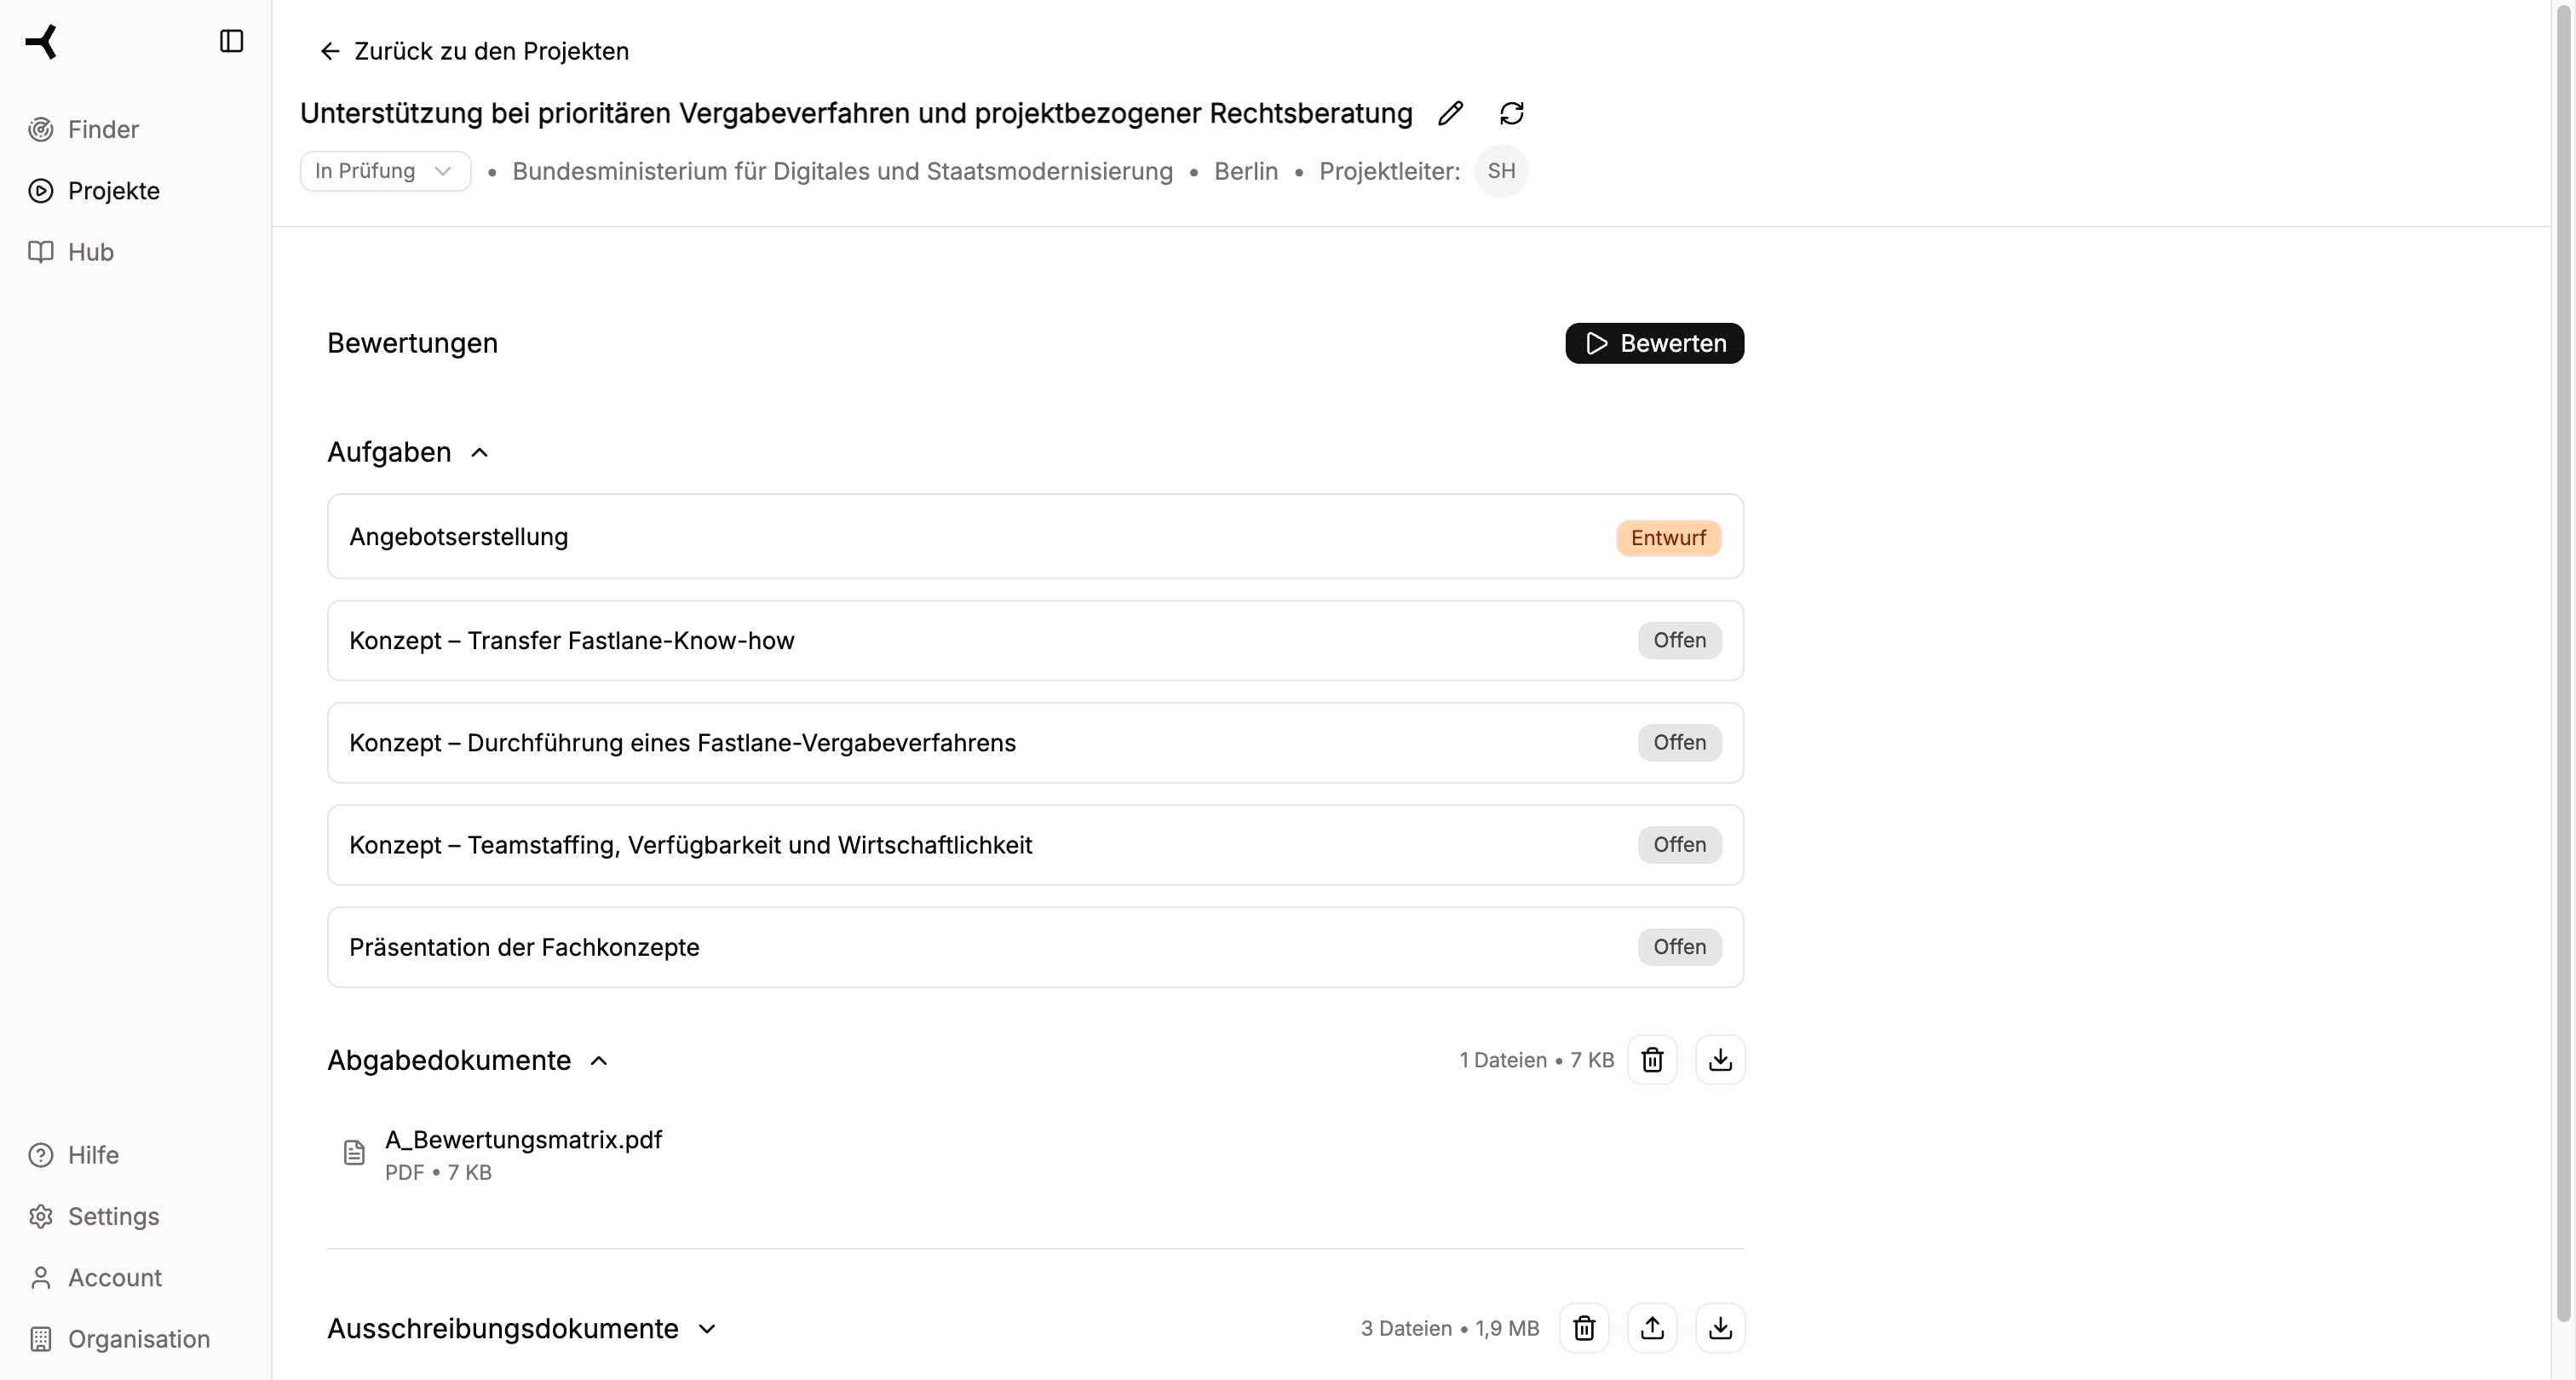
- Tasks – Overview of all proposal subtasks
- Proposal Creation – Entry point to the Writer workflow
- Submission Documents – Already created documents
- Tender Documents – The uploaded source documents
Next Steps
Click “Proposal Creation” in the task list to start Writer and begin with Step 1: Documents.Continue to Step 1: Documents
Extract and review requirements